Underwater Photography
How to Improve Your Underwater Photos With an iPhone
Blue, flat and murky is the water's doing, not your phone's. Ten tips that fix most underwater iPhone photos, in order of how much they help.
To take better underwater photos with an iPhone: get much closer, shoot shallow with the sun behind you, set white balance for water instead of land, keep ISO low and the shutter fast, shoot RAW, then correct the colour. Water absorbs red within about 5 m, so the biggest single win is less water between you and your subject. A camera app with manual controls and live colour correction handles most of the rest.
- Biggest win
- Get closer
- Best light
- Shallow, sun behind you
- White balance
- Set for water, not land
- Format
- RAW if you can
A phone in a good housing can take beautiful underwater photos. When it doesn't, the sensor is rarely to blame. Water changes light before it ever reaches the lens, and your phone, which assumes it's standing on dry land, makes the wrong call about what it's seeing.
Ten tips, in order of impact
- Get closer than feels sensible: Every metre of water between you and your subject strips colour and adds haze. If the animal lets you, get within an arm's length.
- Shoot shallow, with the sun behind you: Light is strongest in the first few metres. From about 10 am to 2 pm, with the sun over your shoulder, the water is at its brightest and most colourful.
- Set white balance for water: Your phone's auto white balance was built for land. Underwater it reads the blue as the true colour of the scene. Use a preset for your depth, a Kelvin value, or set it off a grey card.
- Choose your settings on the boat: A touchscreen doesn't work through a housing. Lock ISO, shutter and white balance before you get in, so there's nothing to fiddle with at depth.
- Use a fast shutter: Fish move, and so do you. Start at 1/250 s and go faster if the light allows.
- Keep ISO as low as the light allows: Phone sensors are small, so noise appears quickly as ISO climbs, especially in the blue. Raise ISO only until the histogram looks right. Apple's own app won't let you choose it; a manual camera app will.
- Bring your own light up close: A video light or strobe puts back the red and orange the water took. Hold it off to one side, not on top of the phone, so it doesn't light up the particles in front of the lens.
- Shoot upward: Angle towards the surface for a clean blue background and a strong silhouette, instead of a murky seabed behind your subject.
- Shoot RAW: RAW holds far more colour information than a JPEG, so a big colour correction won't fall apart. On the iPhone 18 Pro Max you can shoot 48 MP RAW.
- Correct the colour, gently: Aim for what you saw, not neon. Corrected and natural beats saturated and fake.
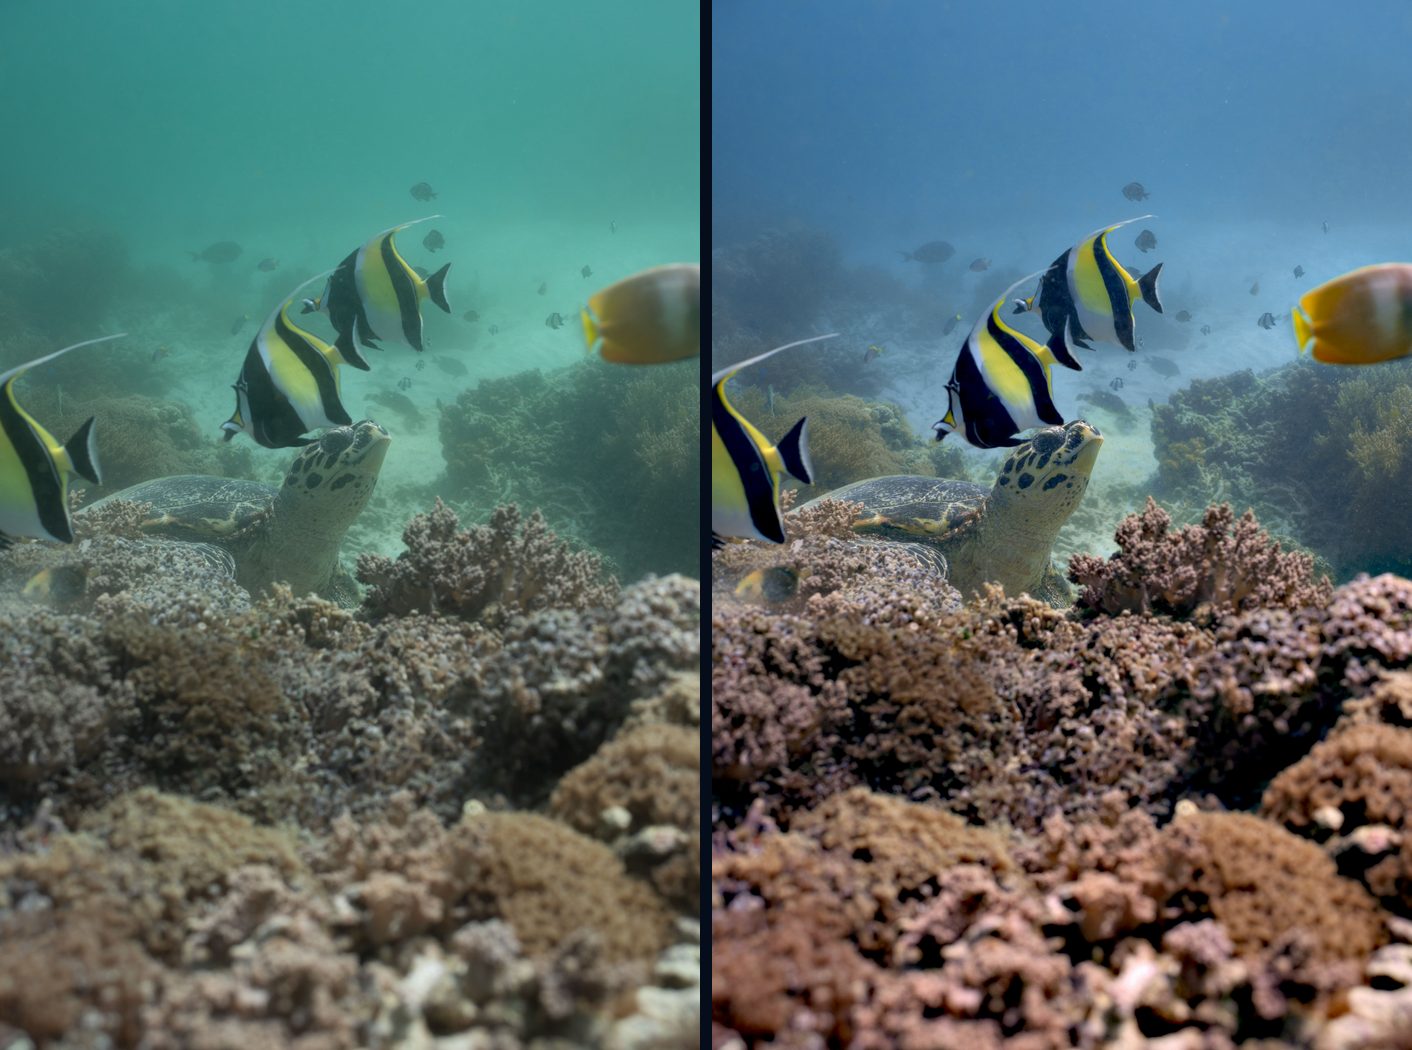
What to do about the blue
The blue-green cast is physics. Water absorbs red first, then orange, then yellow. You can fight it three ways: bring your own light, set white balance for the depth, and correct what's left in software. Diving Standard's camera does the last two for you, with white balance tuned for water and True Colour running live in the viewfinder, so you frame the picture you'll actually get. The full explanation is in why underwater footage looks blue and green.
A settings cheat sheet
| Setting | Starting point |
|---|---|
| Shutter (photo) | 1/250 s or faster |
| ISO | As low as the light allows, then lock it |
| White balance | Depth preset, or set off a grey card |
| Format | RAW (HEIF if storage is tight) |
| Focus | On the subject's eye; macro up close |
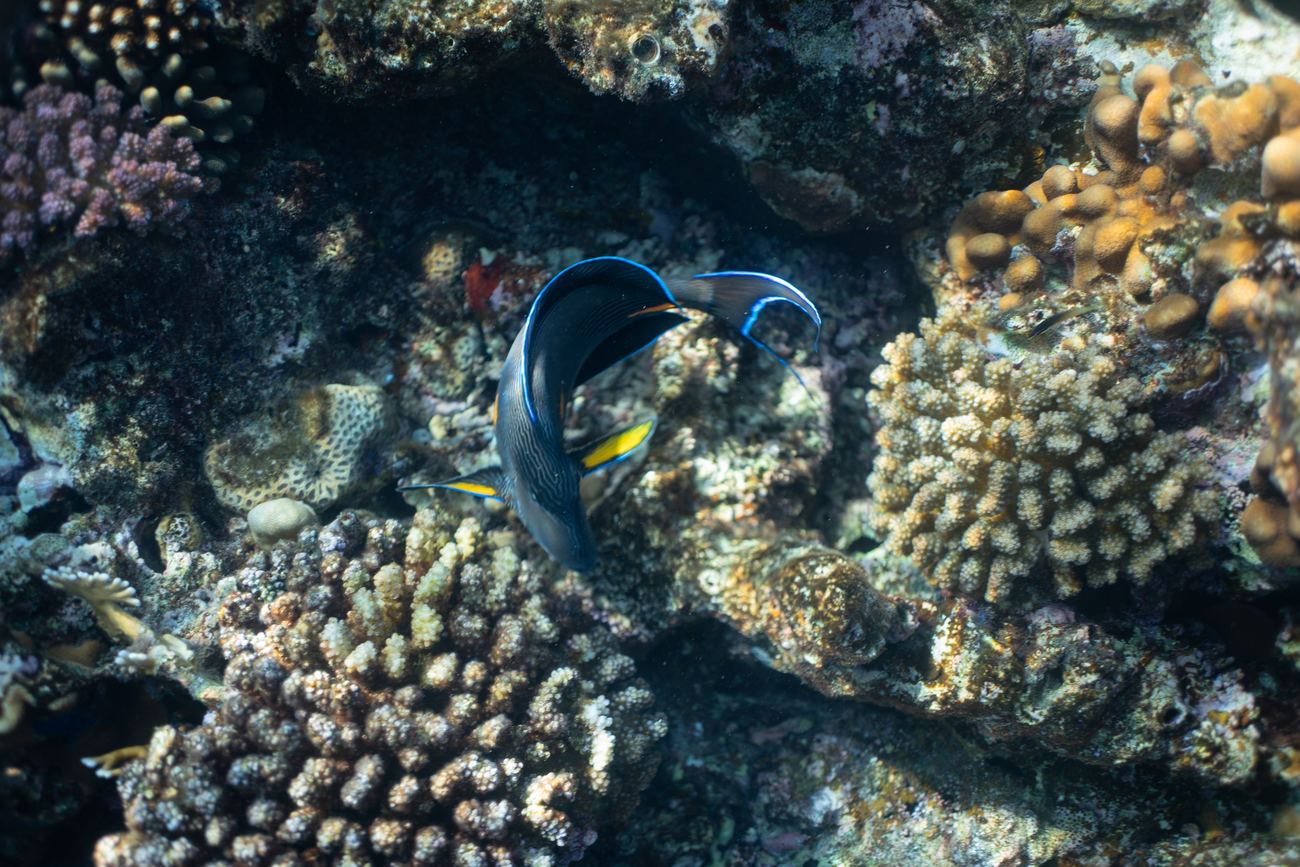
For every setting explained, see the best underwater camera settings for iPhone. Shooting video too? Read how to improve your underwater videos.
A camera built for the sea
Manual ISO and shutter, white balance for water and live True Colour. Download Diving Standard free for iPhone.
Download on the App StoreFrequently asked questions
Why do my underwater iPhone photos look blue?
Water absorbs red light first, so by about 5 m most of it is gone and everything shifts blue-green. Your phone's white balance is built for land and makes it worse. Get closer, add light, set white balance for water and correct the colour afterwards.
What are the best iPhone settings for underwater photos?
Shoot RAW, use a fast shutter such as 1/250 s, keep ISO as low as the light allows, and set white balance for your depth rather than leaving it on auto.
Do I need a light for underwater iPhone photos?
Not in the bright shallows. Deeper than about 5 to 10 m, a video light or strobe brings back the reds and oranges.
Can I use my iPhone underwater without a housing?
Only within its water resistance rating, and the touchscreen doesn't work well wet. A proper housing is safer and gives you physical buttons.